


How to Edit to the Beat of the Music
Join the collective for free http://Left.ly/Collective Be part of an epic community who receive my videos and tutorials early every week! http://Left.ly/Collective You will also receive free adventure filmmaking tips by joining the Collective, did I mention it was free?? I have a guide of all my software tools available to all new subscribers.
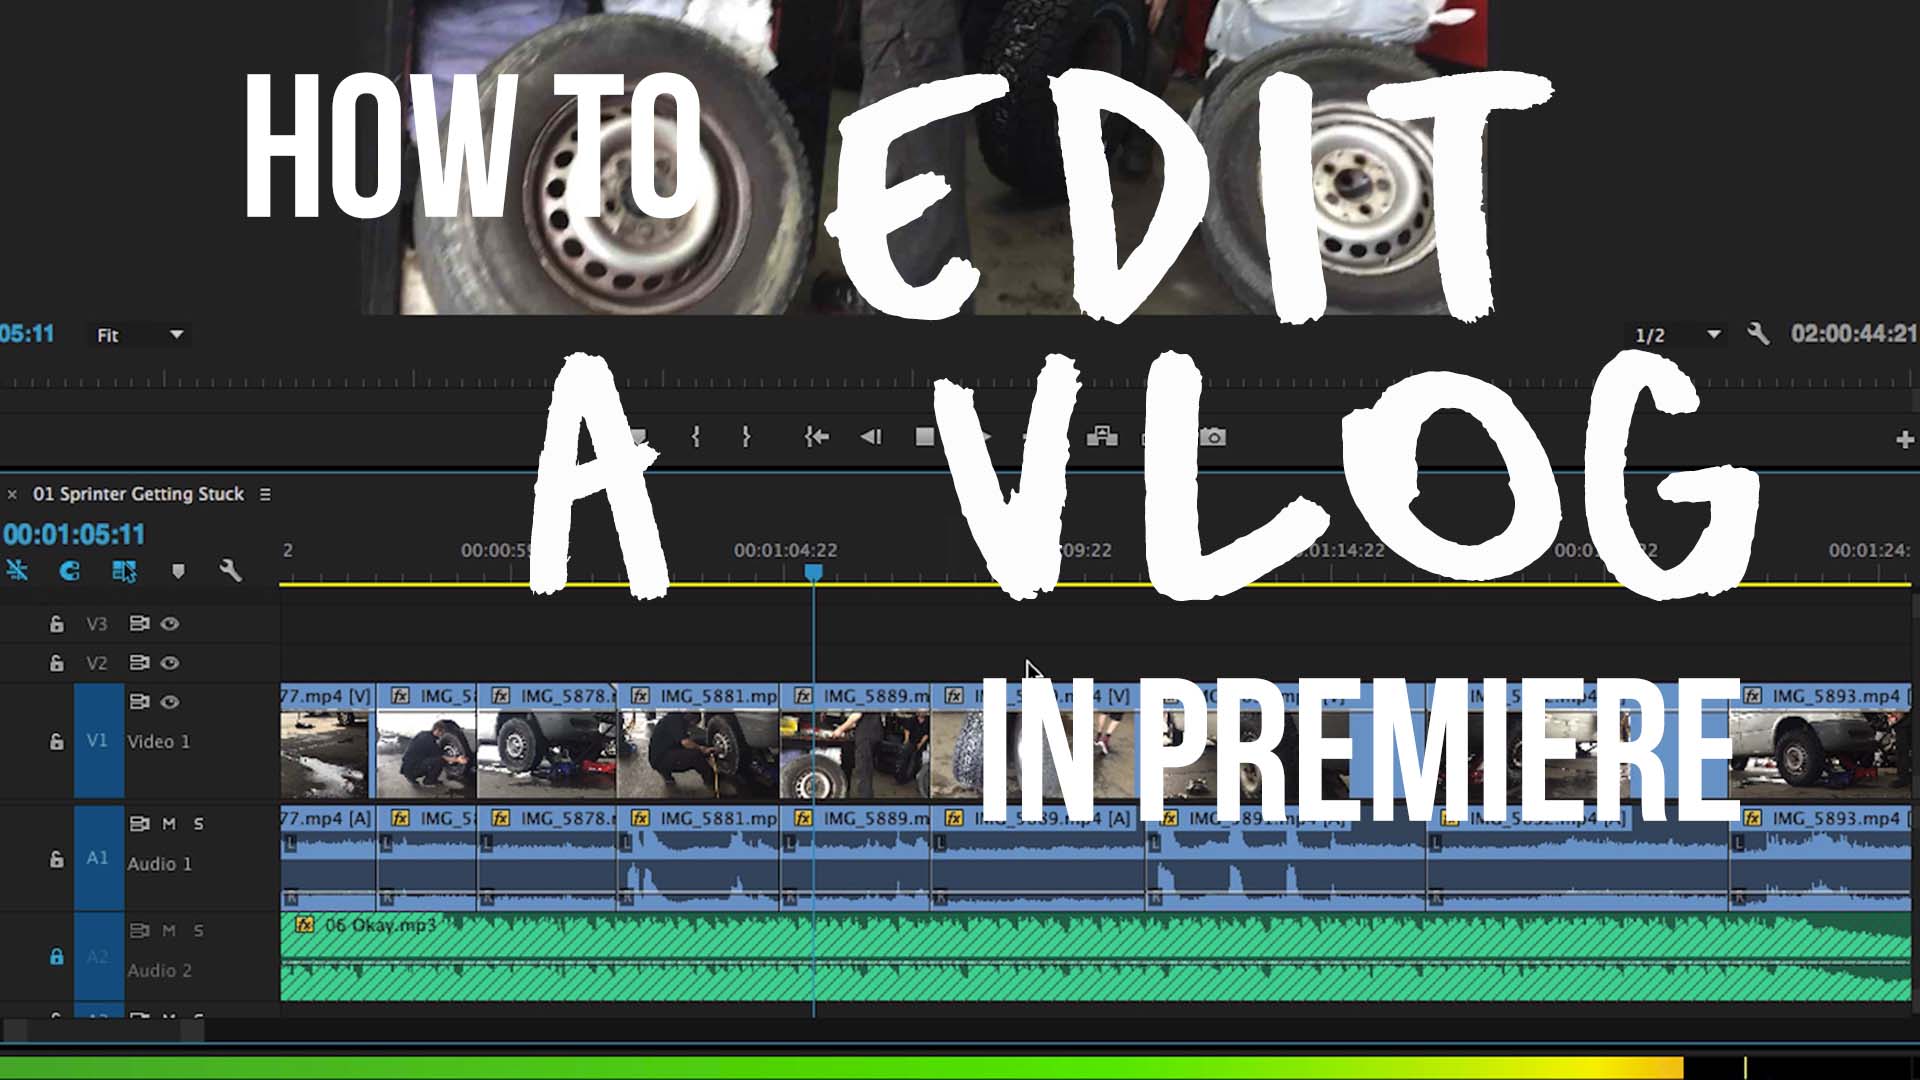
How To Edit a Vlog in Premiere Pro
How To Create a New Sequence In Premiere Pro

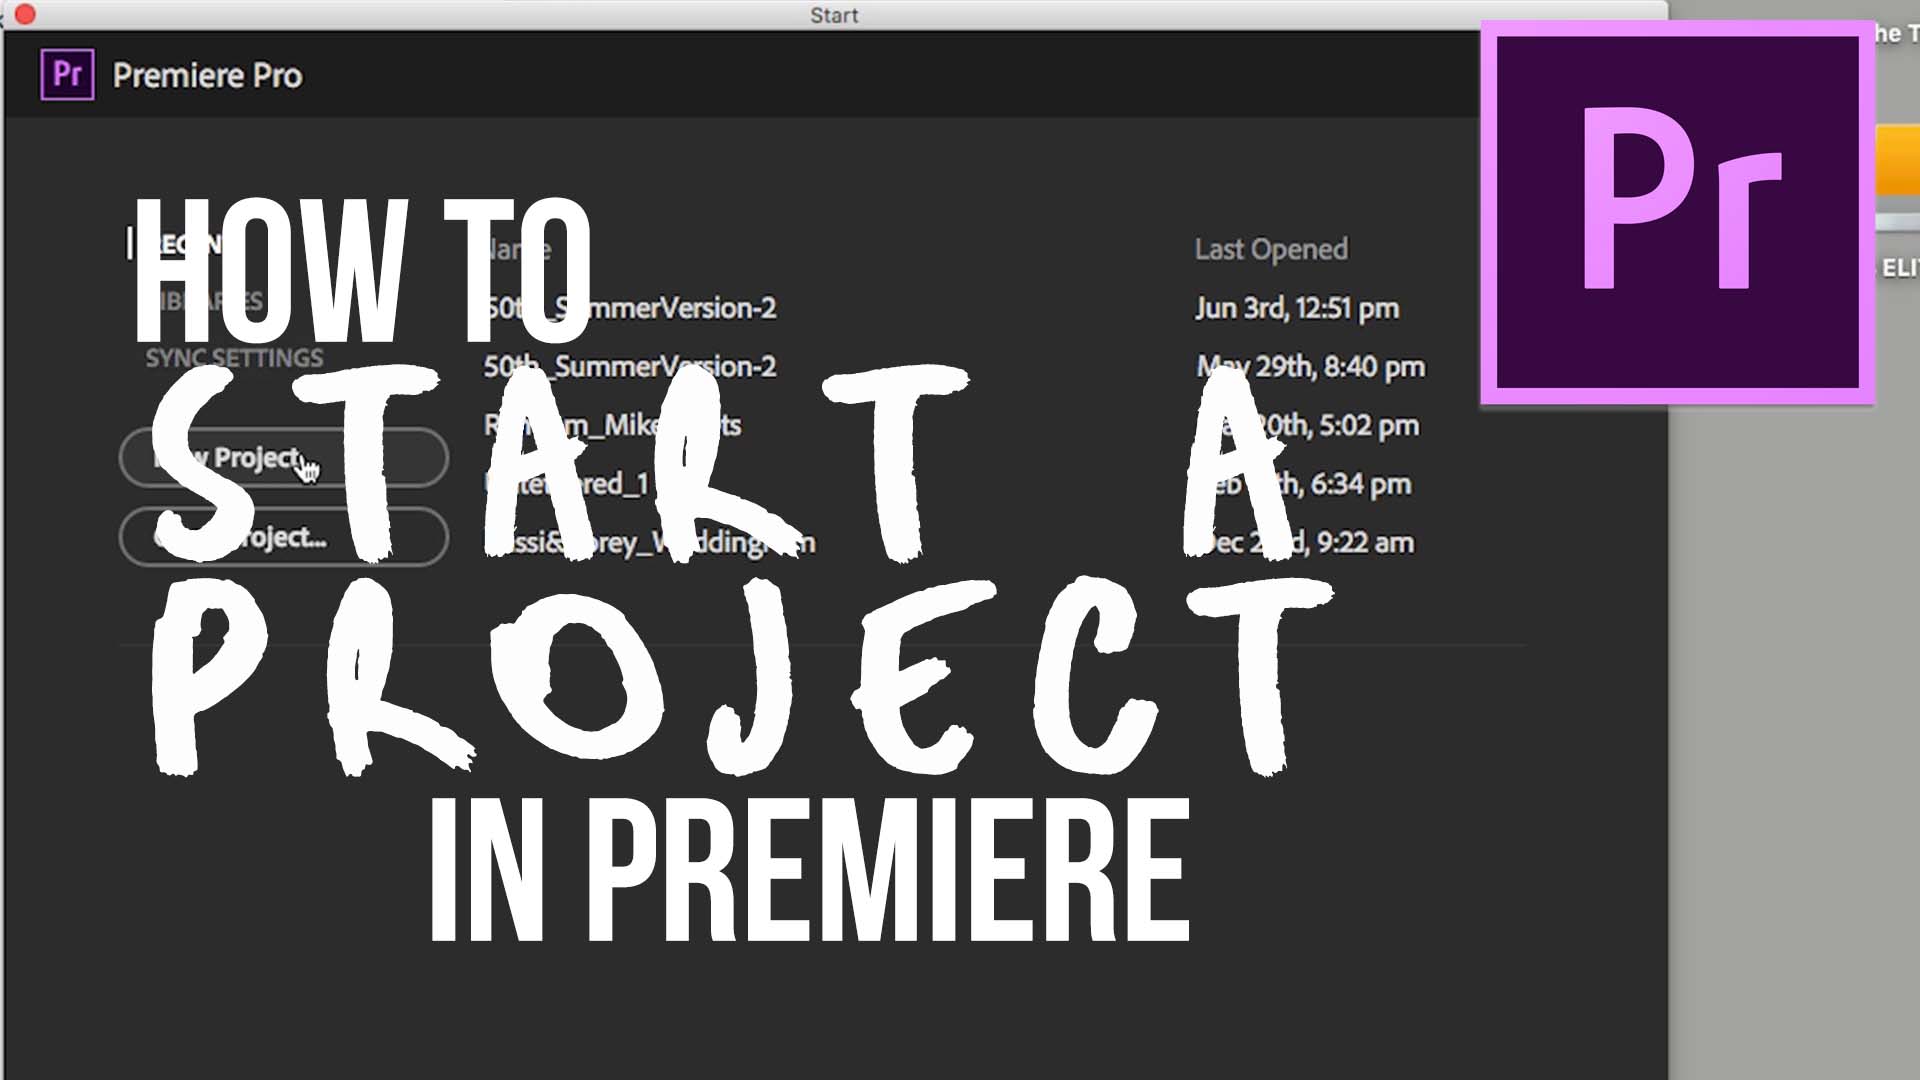
How To Start and Optimize a New Project File in Premiere
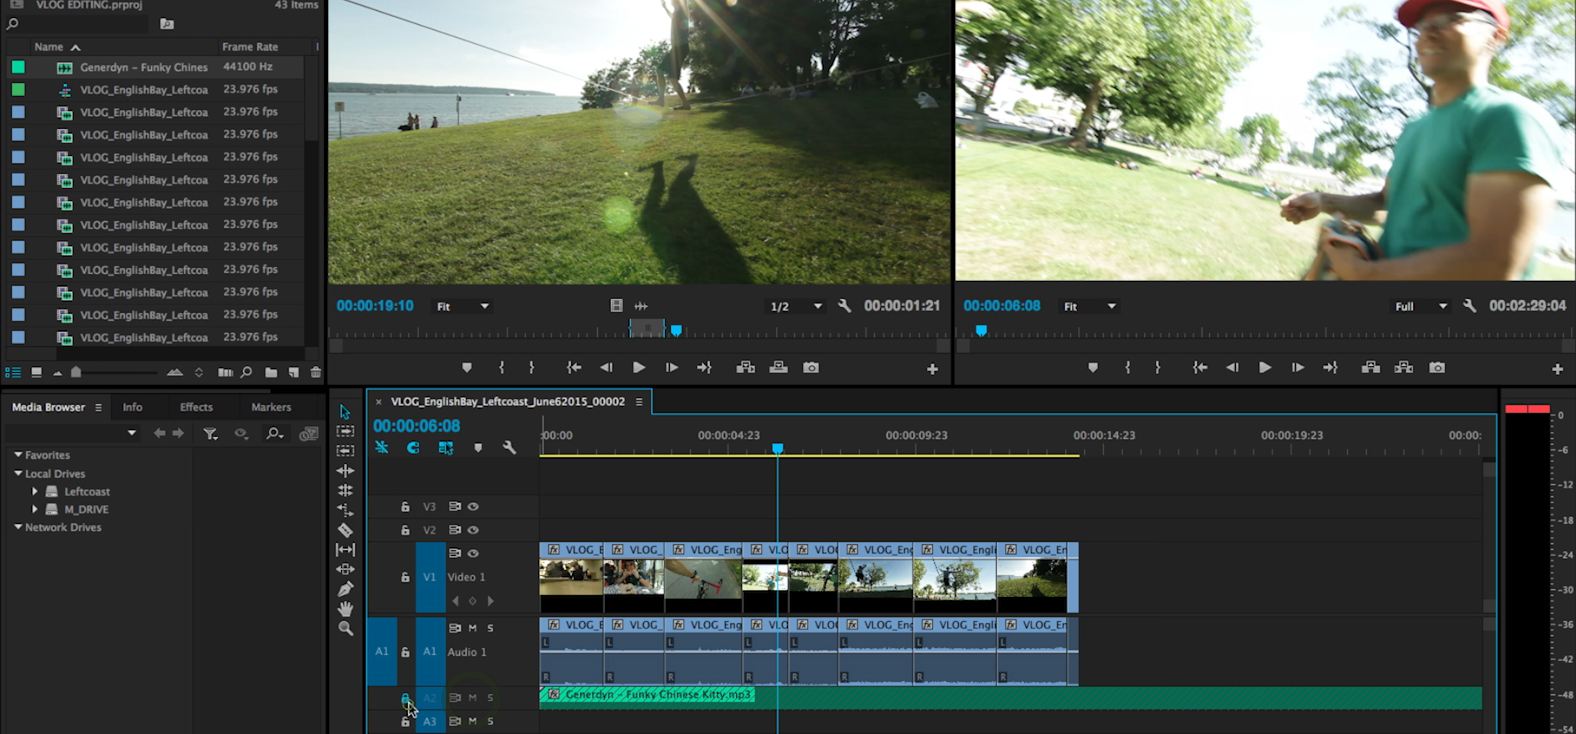
How to Organize Your Media For a Vlog

How to Edit an Entire Project in Premiere Pro

1. How to Organize Media For a Vlog
2. How to Start a Project In Premiere
3. How to Create a New Sequence in Premiere Pro
4. How to Edit a Vlog in Premiere
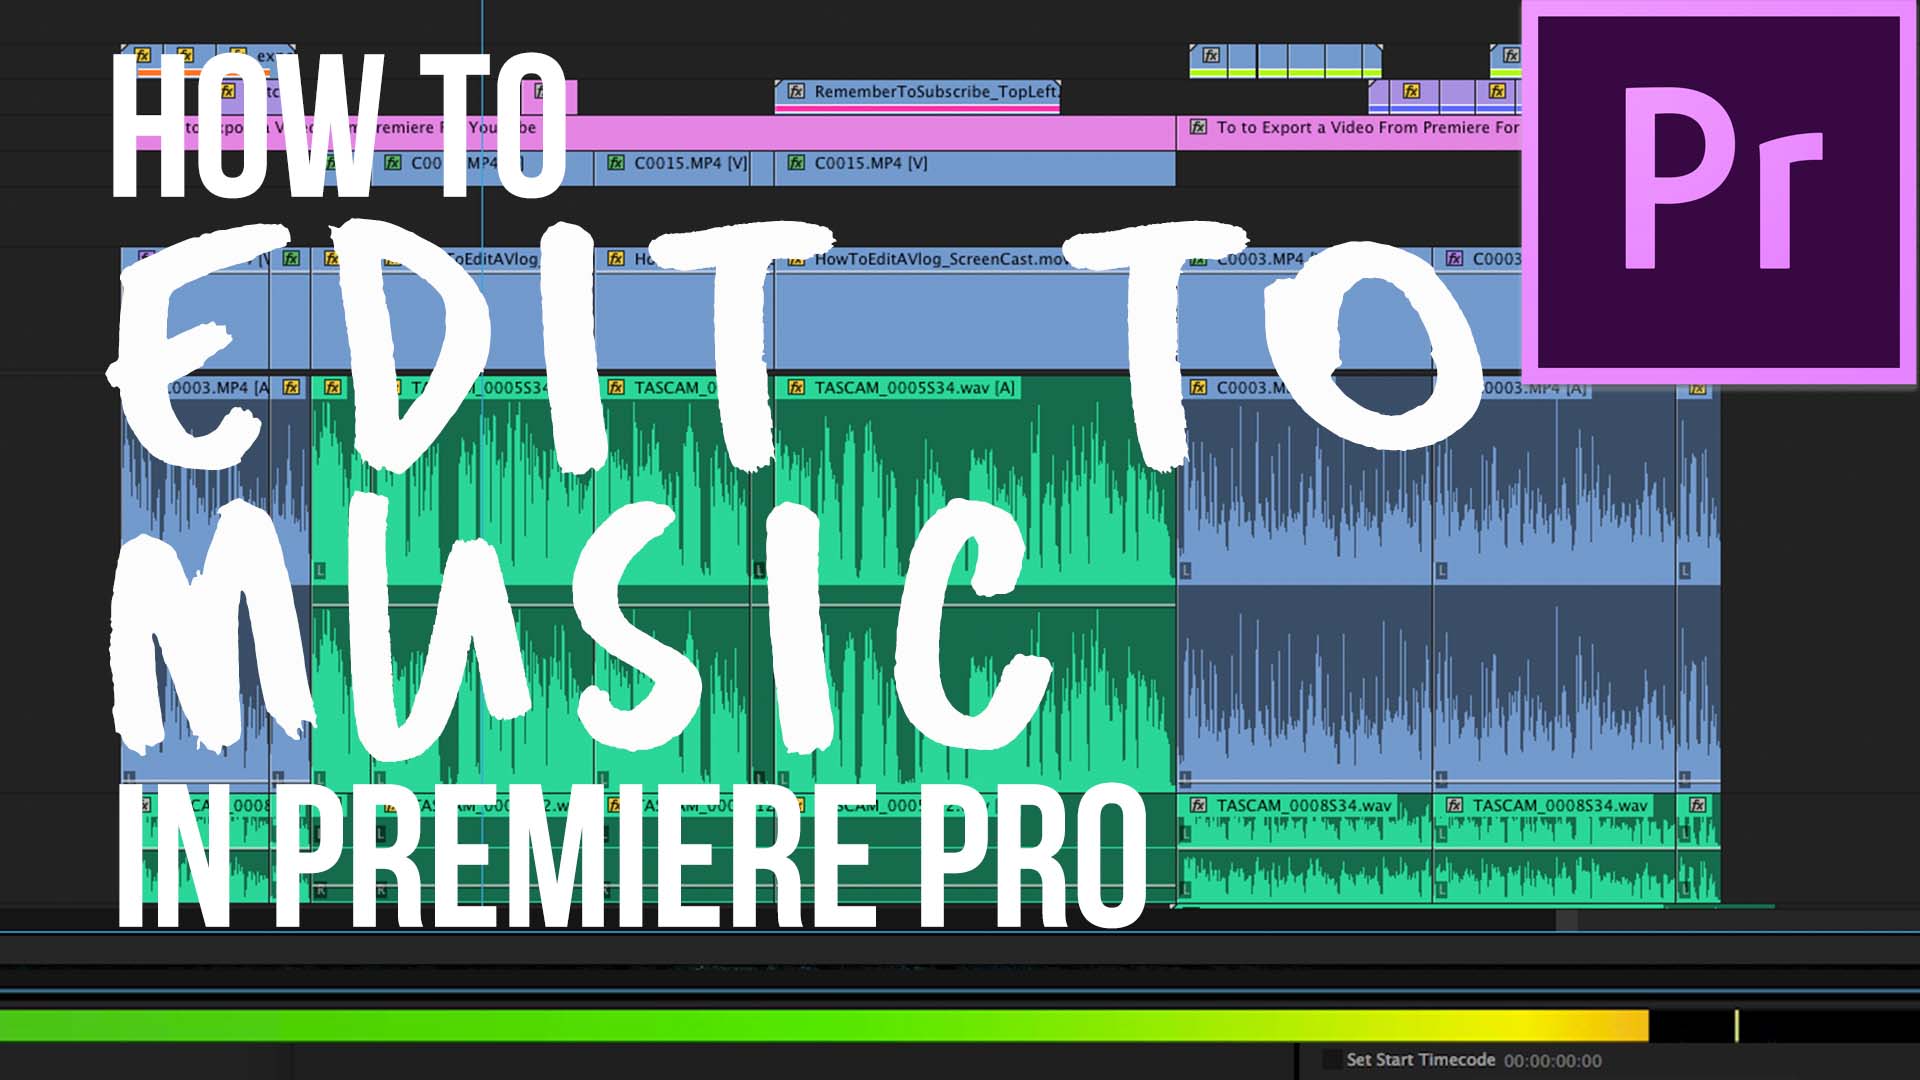
5. How to Edit to the Beat of the Music
6. How to Export a Video From Premiere
How To Edit a Documentary Intro & A Look Inside the Project File

A Look Inside the Untethered Project File
Receive These Tutorials Directly in Your Inbox!
You Can Double Your Edit Speed // Editing Adventure Films
https://www.youtube.com/watch?v=i5_q50c9k7k
Once you get a basic grip of your editing software, you will move from baby steps to starting to learn some of the secrets of the trade.
Tips and tricks that will make a massive difference in how you edit your projects are worth the time to learn as soon as possible. For me when I learned this trick I am going to share with you, I was literally laughing at how much faster it allowed me to edit. Something so simple and yet so effective.
The trick I am teaching you comes in handy during the stage of your project when you are cutting your selects from your footage. You are trying to find the best moments from what you shot and start to build a video.
You need to edit fast, ignore getting specific and lay out a rough cut as fast as possible. Don't waste your time getting picky with the length of your shots.

Screenshot 2015-06-25 09.39.32
STEP 1: Set In and Out Points With a Shortcut
When you have your sequence created, use the short cuts 'I' and 'O' in order to set your in and out points efficiently. These are the points that premeire uses to drop that section of the clip into your sequence.
STEP 2: Drop the Clip into Your Sequence
Once you have selected your in and out points use the comma key ',' to drop it down into your sequence at your play head.
SPEEDING UP THE REFINING OF YOUR EDITS
Now that you have your rough cut laid out you can begin to cut more finely the clips you want to use in your edit. A huge way to speed this up is use the keyboard shortcuts of 'Q' and 'W'. When you press Q it will 'ripple delete' the clip beginning to your playhead. When you press W it will 'ripple delete' the end of the clip to your play head. Go on, give it a try.
Using the lock on a video audio track for when you ripple cut
Some things to note: Ripple cutting will chop every layer in the sequence that is not locked. This is important to note if you have a music tracks that you do not want to end up all chopped up. You can work around this by simply locking the track.Refining your edit with ripple cuts is an extremely efficient way to edit to the beat of the music. Play in your timeline and pause exactly at the beat you want to cut to, then use a ripple cut to make it happen.
I love this tip. I hope it has helped you. If you have any questions connect with me on Facebook or join the Leftcoast Collective to contact me directly!

book cover
Download Free Guide
I have made this guide available to all current and future subscribers of the Leftcoast Collective. If you would like to receive a copy of it directly join the Leftcoast Collective bellow. I will continue to send free great content every Thursday and you can unsubscribe at any time. [yks-mailchimp-list id="e34efe9754" submit_text="SEND ME THE FREE EBOOK!"]
Written by: Levi Allen VanderKwaak

Levi Allen
How to Add Film Grain to Your Projects in Premiere Pro CC
You can view more of my films on Vimeo
Film grain is a fantastic way to help add an organic look to your digitally shot footage. I use it often, almost every project I work on actually. It's especially helpful when you are using denoising plugins and the absence of grain becomes a little unnatural. I am going to show you how you can add film grain in Premiere Pro CC, but the same principles apply to all editing programs.
Here is an Adventure Film that I added Film Grain Too
A Free Pack of Film Grain
Here is where you can get a free film grain pack: Gorilla Grain. The sign up form to receive the download is on the right hand side.
Step One: Finish Your Edit
Add your film grain after you have completed your edit and color correction. Adding it to your Timeline can slow down playback so I prefer to add it last. One thing to note is when you are color correcting you can be a little on the dark side because *when you add the grain it brings up the brightness of your shots. *
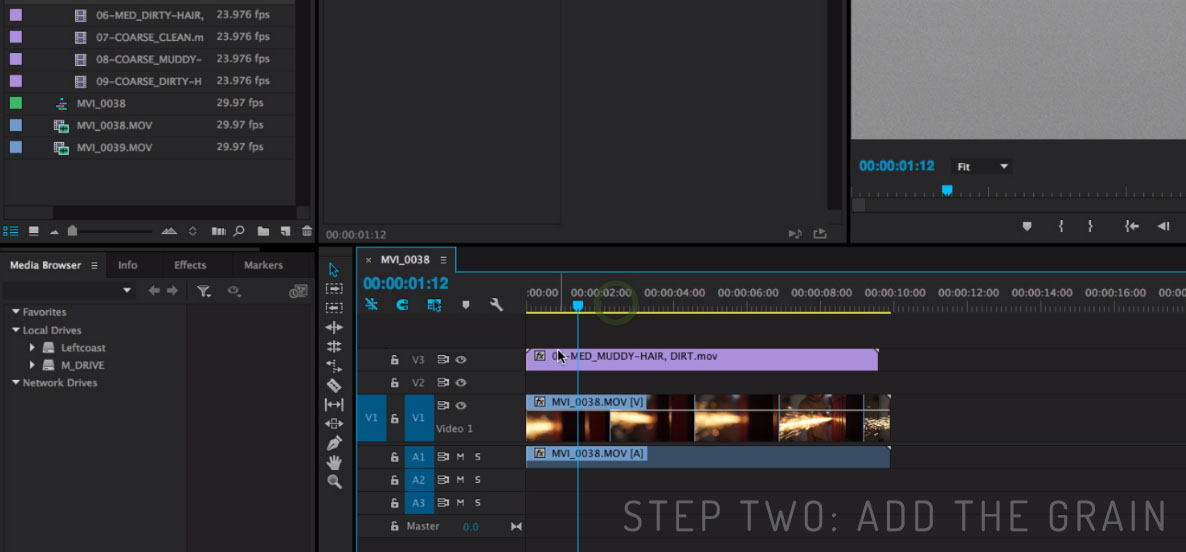
Step Two: Import Your Grain and Add to Sequence
After importing your grain pack of choice you have a few options to pick from. Most packs will come with a Fine, Medium, and Course grain. They also come in varieties of how much dirt or grit the have in them. My favorite is Medium Clean, once you have selected your add it to your sequence in the layer above your footage.
Step Three: Change Blend Mode to Overlay

stepthree
Go to the effects controls panel and drop down the opacity settings. Then change the blend mode to overlay. Windows>Effects Controls>Opacity>Blendmode>Overlay You can fine tune how much grain you want by using the percentage. I tend to use somewhere between 60-85% most of the time, but it is really your call.

Step Four: Multiply the clip across the sequence
When your grain is fine tuned, you can copy and paste it across the rest of your sequence. If you make any changes to your settings you can select opacity from the effects controls window, copy it, and then paste it to all of your clips to change them as well.
Bonus Tip: Helping Your Dissolves Work

addacolormatte
You will notice now that if you try add a dissolve or fade to black on one of your clips it does really work. One way to fix this is by adding a black color matte underneath your shot that has the fade to black. You can make a color matte by going to File>New>ColorMatte
Well there you have it, a really straight forward process. I encourage you to give it a shot and see how you like the results. I love the way it looks on my adventure films and other pieces that I want organic texture in. If you have any questions please do not hesitate to ask. I love that you stopped by to watch this tutorial. It would be great to see your results, connect with me on twitter or Facebook and show me what you've made.
Until next time, Remember life’s better when you make stuff
 RECEIVE FREE GUIDE & NEW TUTORIALS
Subscribe to get my free guide, and receive all the latest adventure content straight to your inbox.
Levi Allen
How to Edit Video Interviews ✂️

https://www.youtube.com/watch?v=Y3jHCcXUfoM
This week is all about editing interviews. This can definitely be one of the more daunting steps in the process of making films. Let's assume at this point you were able to capture an interview with your subject using some of the techniques I talked about last week. Now you are ready to start making your edit.
Often I find this stage challenging. Usually the interview didn't go quite as well as I had hoped it would. Maybe my audio wasn't as good as I wanted, or maybe the subject got off topic a lot. Either way I have found that if I am going to edit an interview, it works the best to do it within days if not hours of shooting it. The longer you put it off, the harder it will be to start.
Editing an interview right after shooting it, is good for a few reasons:
- You remember most clearly what you talked about and the flow of the conversation.
- The interviews for your project don't add up and become overwhelming to edit (Trust me, needing to edit 10 interviews to finish your project is a lot more frustrating than just editing one at a time).
- Once you are done editing it helps you get a better idea of your story thread and you can more strategically interview in the future or collect the proper BRoll you need.
Editing Interviews is Far Easier Following Strategic Steps
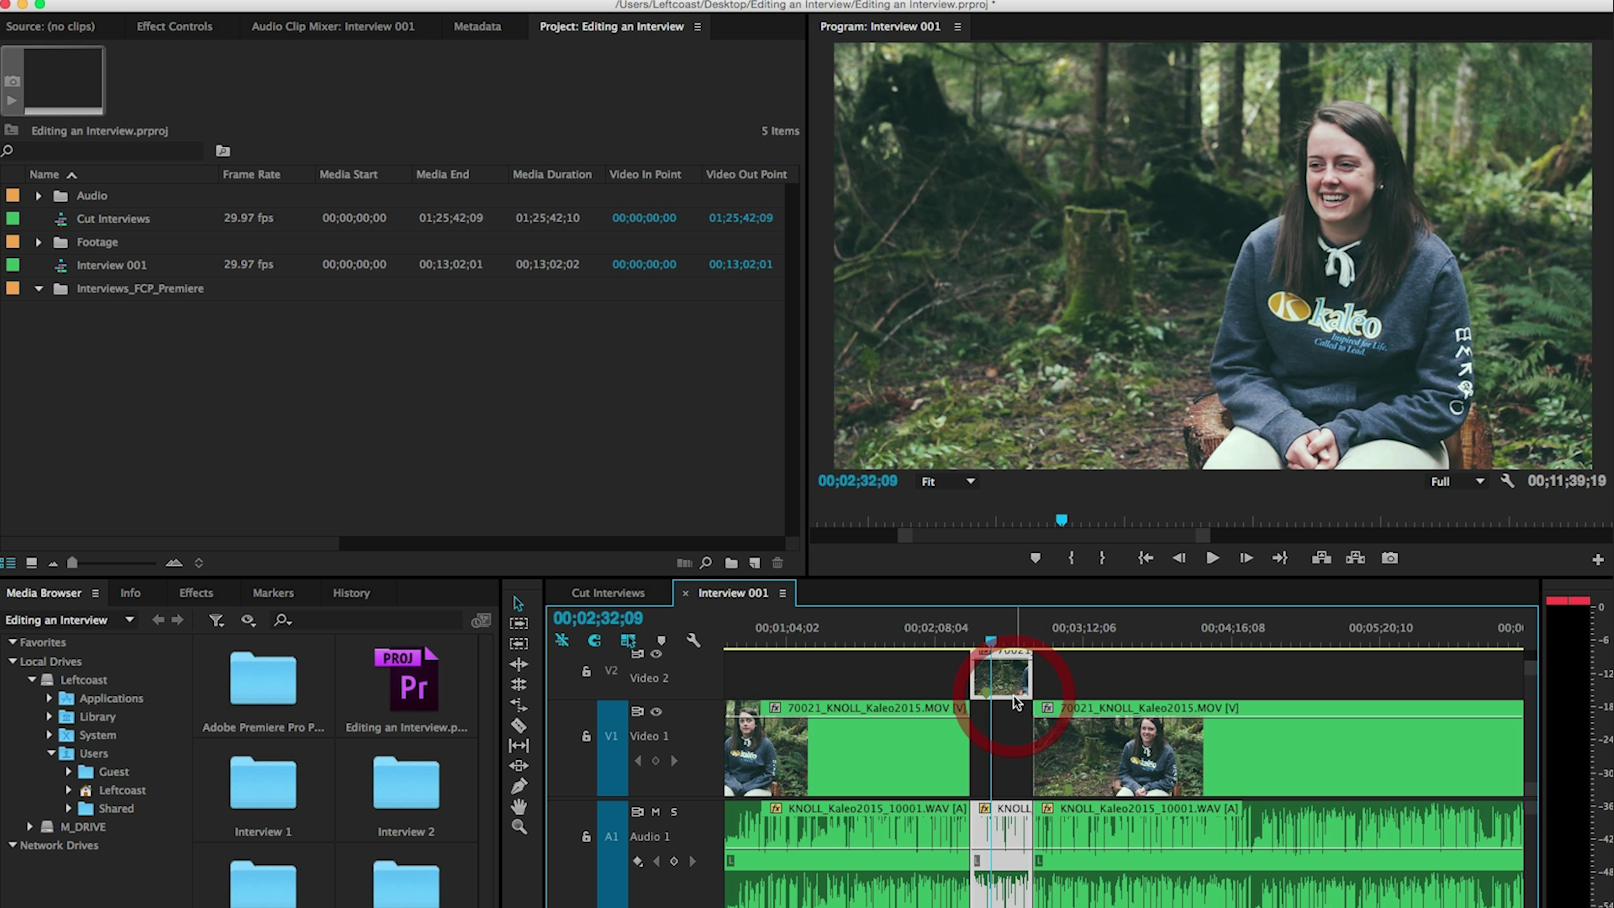
1. Create Your Project and Add Your Entire Interview to a New Sequence.
- This is the foundation I start from. I create a new sequence for each interview I cut. Once I take my selects from this sequence I always have it to reference back to.
2. Begin Cutting Out the Sections of Just the Subjects Answers.

- The main principal here is just trying to remove the sections of me talking.
- Use the slicing tool to cut right after I ask the question, and then right after. (In Premiere the shortcut for the razor is 'C')
- Double press 'L' to fast forward though sections to speed up the process. Speed of editing is key.
3. Raise the Answers You Really Like.
- Take the sections of the interview you like the most and drag them to the layer above so you can easily see them afterwards.
- I then copy all of these to a new sequence and close the gaps between the clips.
4. Color Code Your Clips.

- When I am editing I love using colors to keep everything visually organized.
- I usually color code each interview so I can easily see the different ones in my timeline.
- Another way I color code is giving a different color to different subjects that are talked about. For example, I would make the sections talking about action all blue, and make the sections talking about struggles all green.
5. Piece Together the Story.
- This is my favorite part. Once you have all your selects out of the interview, you get to begin the fun process of piecing them together in order on your timeline.
- I usually group stuff in the way I want the story line to progress. I try my best to make sections of different topics or trains of thought. I create these mini story lines of sorts. I then try build it out and see if it will work for the film.
6. Fine Tune and Remove
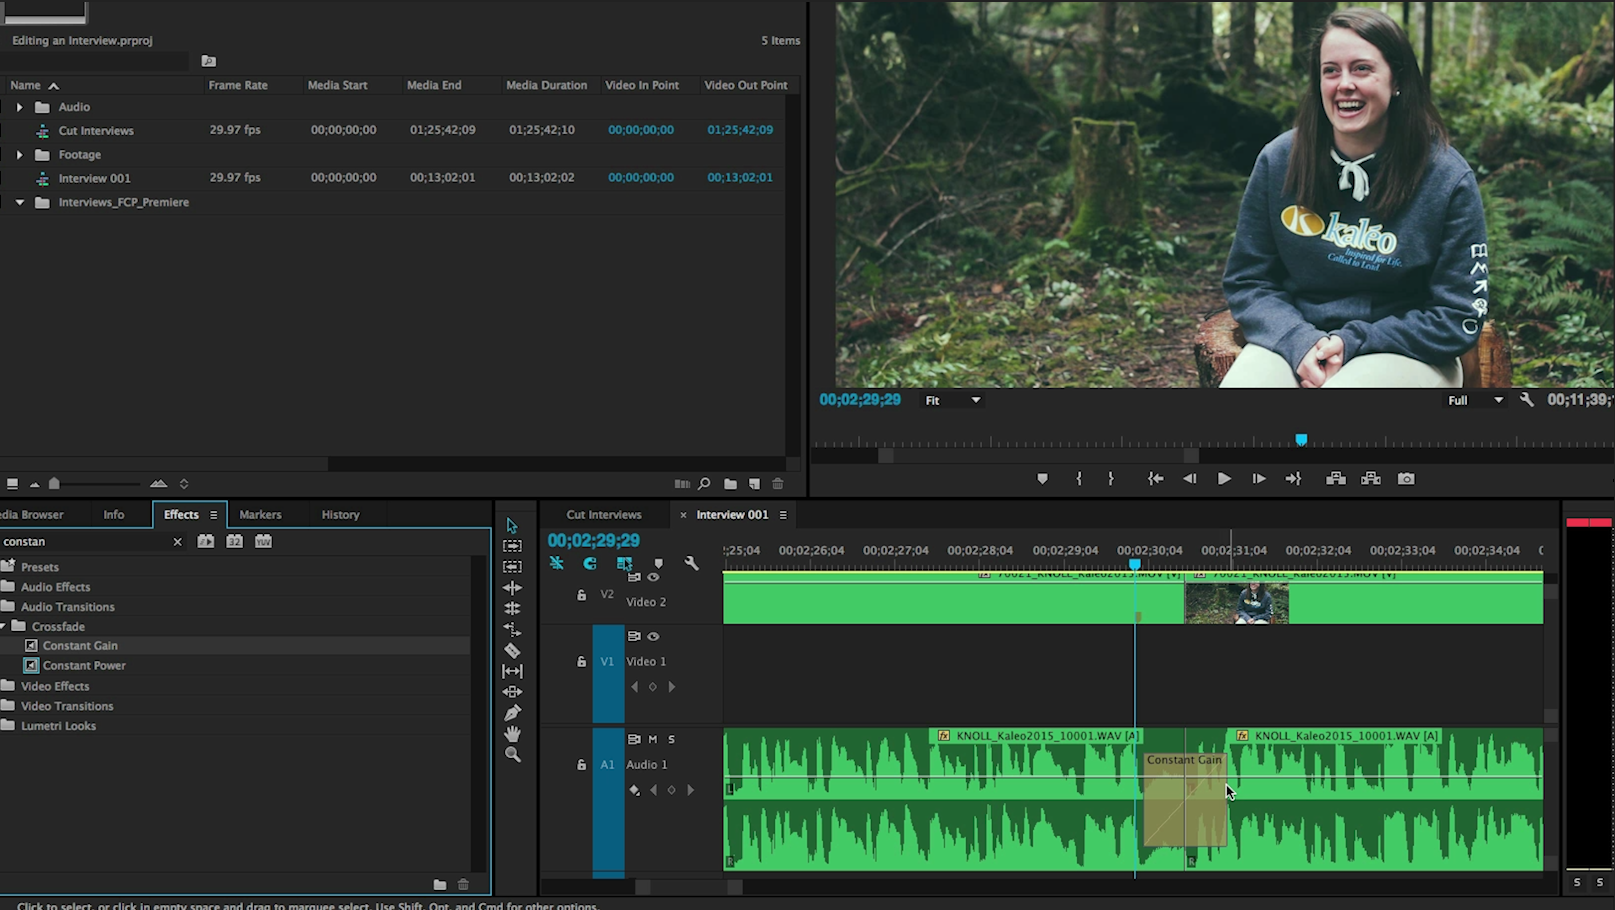
- Once I have built my basic story arc, I begin to fine tune the interview and clean it up a bit. For the sections where clips are playing over top of them talking, I try my best to remove their speech imperfections like 'ums' and 'ahs'.
- In-between these new cuts there is often a pop in the audio of sorts. I add a transition called Constant Gain here in order to smooth everything out.
Try your best to enjoy it and not stress to much. Editing interviews can really be enjoyable once you get used to the process and gain speed and efficiency. It is really rewarding to boil down a 30 minute interview to a 2-3 minute well spoken piece.
Do you have any questions?
If you have any questions about any step of this process, or maybe you know a better way to go about it, please get in touch, I honestly would love to hear from you. The best way to reach me is by joining the Leftcoast Collective and responding to me directly by email. You can also always connect with me on Twitter or Facebook.
Download Free Guide
I have made this guide available to all current and future subscribers of the Leftcoast Collective. If you would like to receive a copy of it directly join the Leftcoast Collective bellow. I will continue to send free great content every Thursday and you can unsubscribe at any time. [yks-mailchimp-list id="e34efe9754" submit_text="SEND ME THE FREE EBOOK!"]
Written by: Levi Allen
